

I made this a few years ago, but am just now getting around to posting the tutorial. My daughter had one of those plastic washer/dryer things to play with, but it was not functional and took up a lot of room. I created this one with the intention of using it as a laundry basket as well. You could put a mesh bag on the inside for laundry if you chose to use it that way.
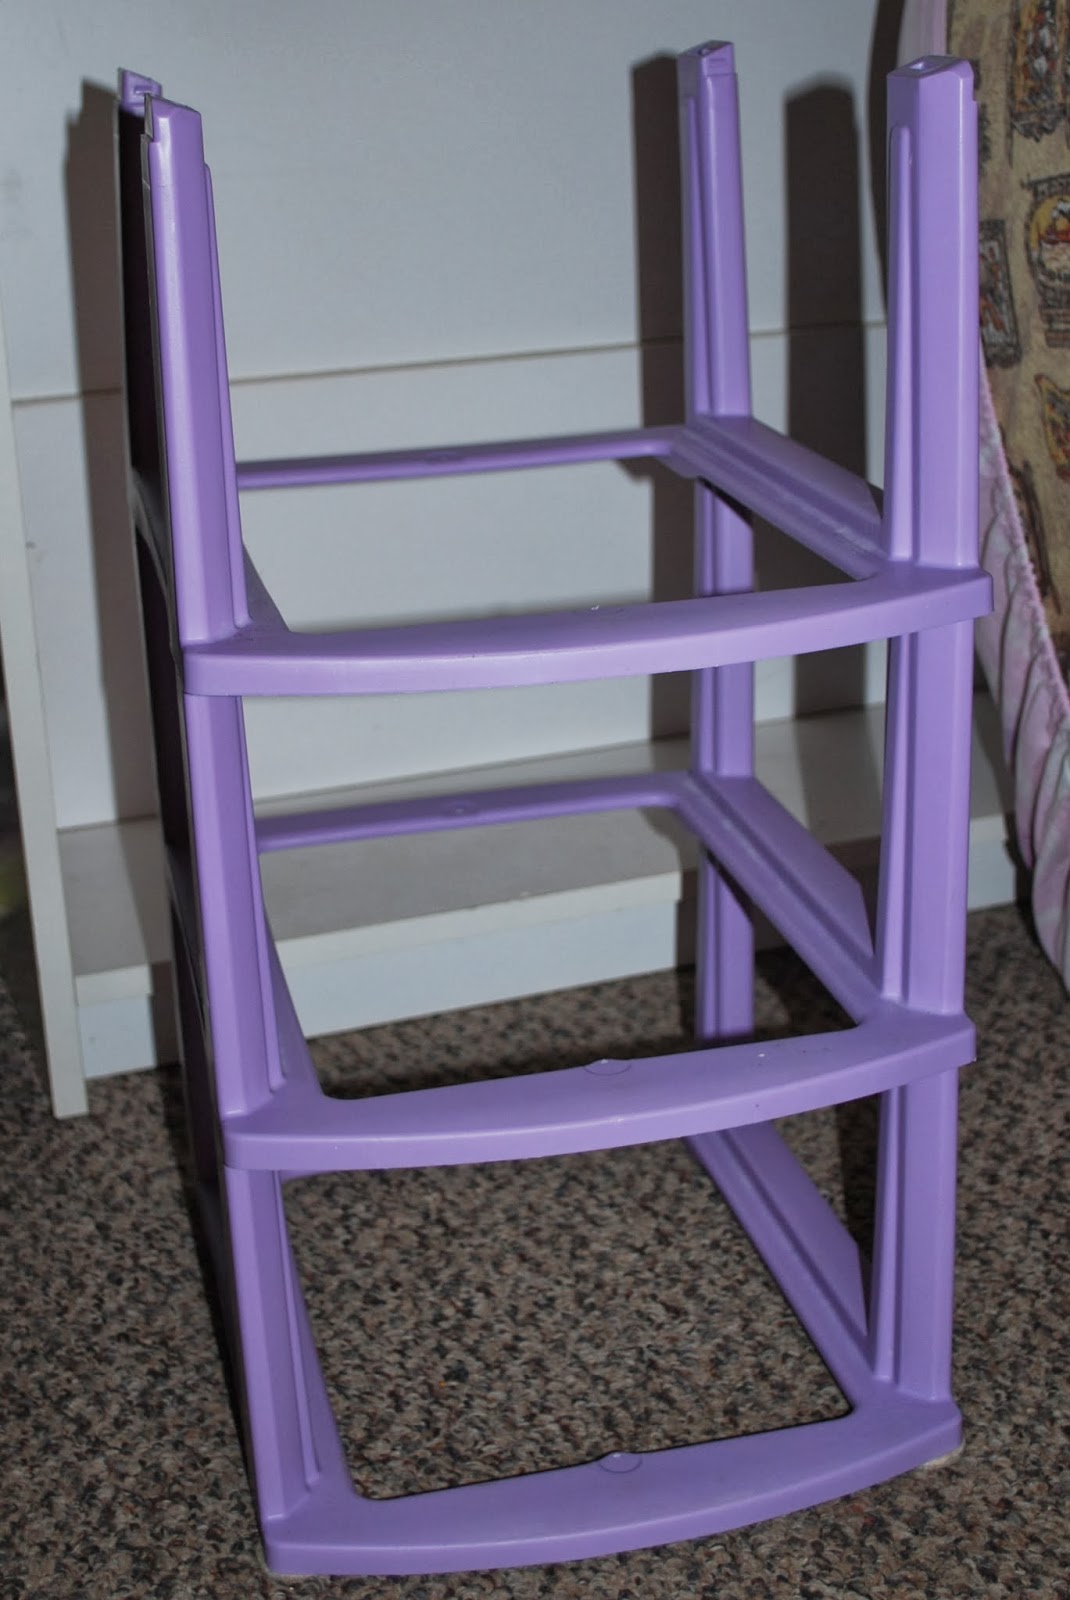
I started with this...one of those 3-drawer plastic things...minus the drawers. You could also use PVC pipe to build a simple frame.

I cut my fabric to fit the frame--plus a couple of inches for seam allowance and sliding on and off if needed.

I traced circles onto my main body fabric, showing where I wanted the holes to be.

Folded the material so that the circle was folded in half, and then cut out my circles...I cut a little bigger than my drawn lines.

Next, I cut 4 inch strips to make "bias" tape from...though I didn't cut on the bias.

Next, using your "hole circle" as a guide, cut four circles the size you want to cover the hole with (the door)...I made mine about an inch larger all the way around.

Cut your batting to match the "door" size.

Sandwich your batting between the front and back pieces of your door, and pin in place.

Sew a two short tubes for handles.

And stuff with the scrap pieces you cut off (or use poly-fil).

Quilt your batting and door covers in place.

Attach handles.

Iron bias tape pieces.

Make bias tape.

You will want four pieces of bias tape, one for each hole, and one for each door.

Pin bias tape in place,

And sew it to your hole.

Sew bias tape around your door as well.

Add the hinge to your door,

and attach to the face of your washer/dryer combo. (I mounted my doors to where they would close by gravity and I would not have to have velcro or anything to hold them closed, but it could be done either way.
Next, sew the other three sides on, creating a tube, and sew a square on for the top.

Here is what the finished product looked like. She absolutely loved it! I think in retrospect I would use a PVC pipe frame so that I could make it the size I wanted, but it worked very well this way, and I recycled my plastic thing with missing drawers.
I would love to know if you tried this tutorial, and how it worked out for you. (I assumed in the tutorial basic sewing skills...if you have any questions, feel free to ask).


