Showing posts with label DIY. Show all posts

Friday, November 15, 2013

Crochet Hats

No tutorial this time, just some pictures for inspiration. I do occasionally have these for sale. If you are interested, you can check out my Facebook page and send me a message.


Owl hats!


Cabbage Patch Doll hair hat!


Monster's Inc!


Penguin hat!


Monster hat!


Christmas Owl hat and scarf set.


Thomas the Train hat.

All of these hats were made by me mostly without a pattern...the one I did use a pattern on was Thomas, and I actually modified it so much it really doesn't count...I ended up only using the pattern for making the number 1 on the side of the hat.

I hope that you enjoyed the pictures and are inspired to make some of your own. I have a very limited selection of hats already made and ready to ship. I will try to get pictures on my Facebook page in the next day or so. 

Check out my link party page to see where I am linking.

Friday, November 8, 2013

Stacked Washer & Dryer Tutorial


I made this a few years ago, but am just now getting around to posting the tutorial. My daughter had one of those plastic washer/dryer things to play with, but it was not functional and took up a lot of room. I created this one with the intention of using it as a laundry basket as well. You could put a mesh bag on the inside for laundry if you chose to use it that way.


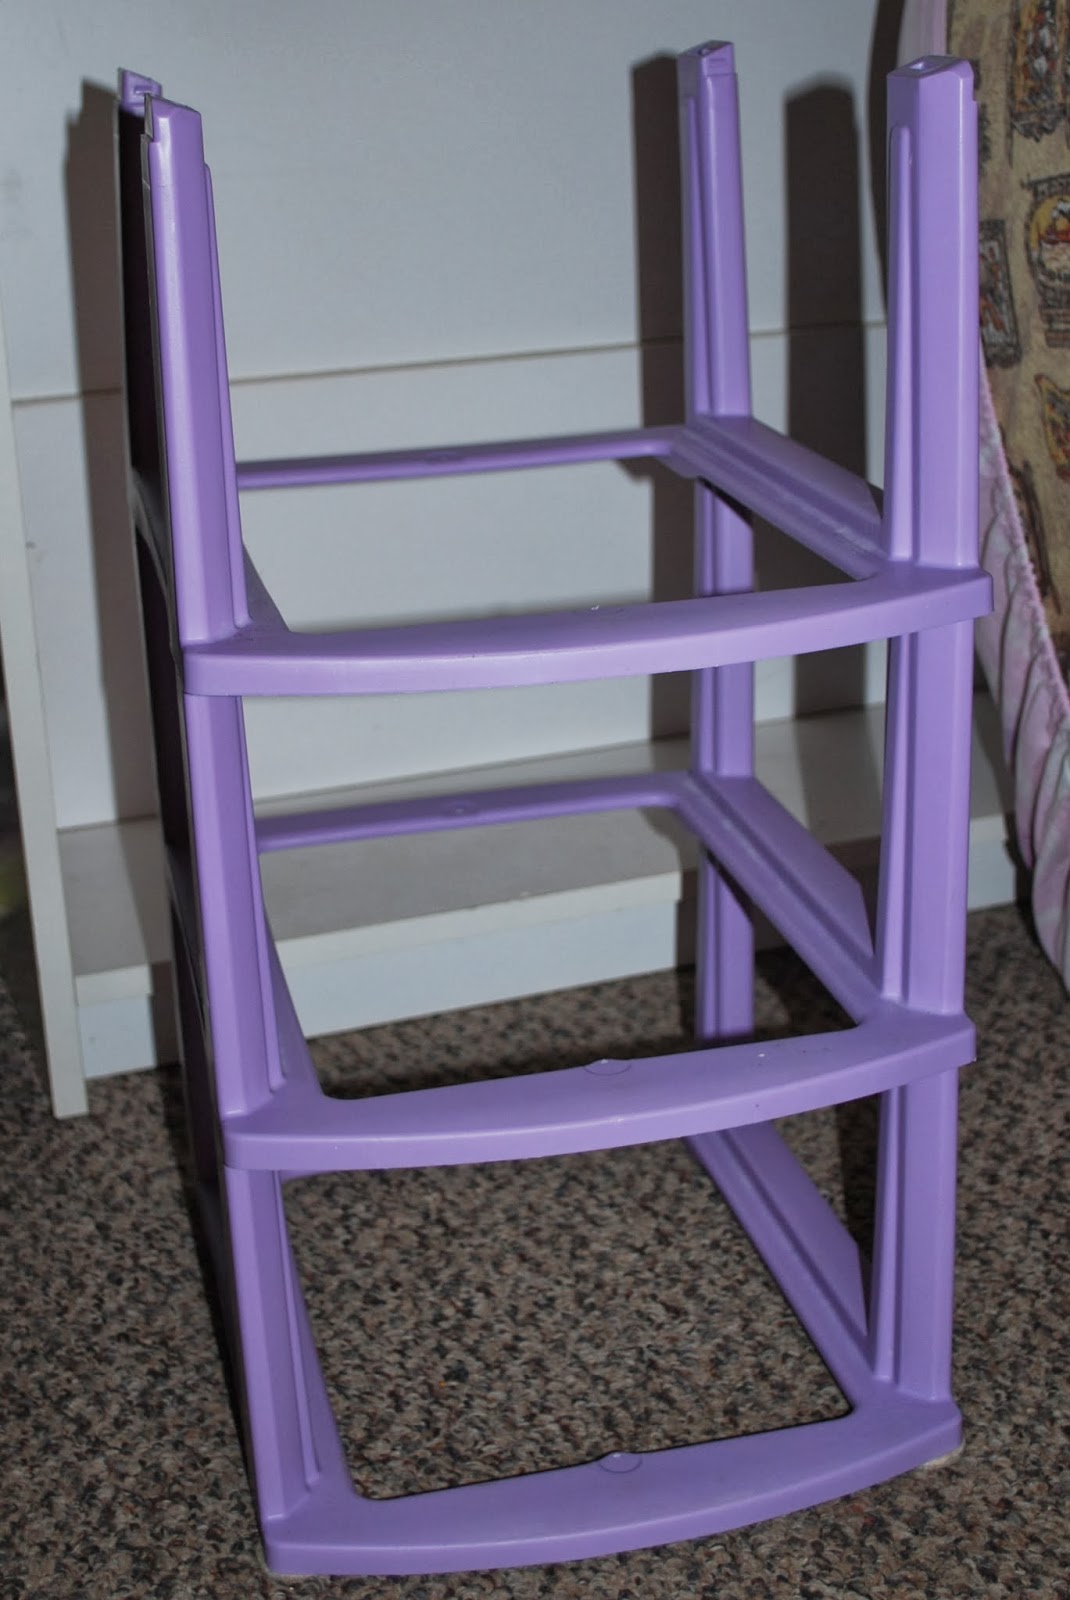
I started with this...one of those 3-drawer plastic things...minus the drawers. You could also use PVC pipe to build a simple frame.


I cut my fabric to fit the frame--plus a couple of inches for seam allowance and sliding on and off if needed.


I traced circles onto my main body fabric, showing where I wanted the holes to be.


Folded the material so that the circle was folded in half, and then cut out my circles...I cut a little bigger than my drawn lines.


Next, I cut 4 inch strips to make "bias" tape from...though I didn't cut on the bias.


Next, using your "hole circle" as a guide, cut four circles the size you want to cover the hole with (the door)...I made mine about an inch larger all the way around.


Cut your batting to match the "door" size.


Sandwich your batting between the front and back pieces of your door, and pin in place.


Sew a two short tubes for handles.


And stuff with the scrap pieces you cut off (or use poly-fil).


Quilt your batting and door covers in place.


Attach handles.


Iron bias tape pieces.


Make bias tape.


You will want four pieces of bias tape, one for each hole, and one for each door.


Pin bias tape in place,


And sew it to your hole.


Sew bias tape around your door as well.


Add the hinge to your door,


and attach to the face of your washer/dryer combo. (I mounted my doors to where they would close by gravity and I would not have to have velcro or anything to hold them closed, but it could be done either way.

Next, sew the other three sides on, creating a tube, and sew a square on for the top.


Here is what the finished product looked like. She absolutely loved it! I think in retrospect I would use a PVC pipe frame so that I could make it the size I wanted, but it worked very well this way, and I recycled my plastic thing with missing drawers.

I would love to know if you tried this tutorial, and how it worked out for you. (I assumed in the tutorial basic sewing skills...if you have any questions, feel free to ask).


Check out my link party page to see where I am linking.

Saturday, October 26, 2013

DIY: Star Wars Baby Wicket Ewok Costume


Buying a costume for a baby can be very frustrating...you have to consider many things:
  1. Will they keep it on?
  2. Will it irritate their skin?
  3. Will it fit in their carseat safely?
  4. Will it be warm enough or cool enough for the weather?
  5. Does it look adorable?
  6. Can I afford to spend $$$?
Making this one myself, from things we already owned and he had already worn answered most of the above questions for me. Scroll down for the "tutorial."


I hesitate to call this a tutorial because, well, there isn't much to it, and I didn't take step-by-step pictures, but here it is anyway! First, I found brown pants and long-sleeved onesie...I had to turn the pants inside out because the feet had monkeys on them (hubby complained you could see the pants tag, but I was carrying him anyway, so it wouldn't show...otherwise it could be cut out). The onesie actually had a picture on it also, but it was (mostly) covered by the hood (you can see just a smidge of it in the pic above--again, if I had been worried about this, I could have used a safety pin or double-sided tape to keep the hood taped down). Then I found another onesie in red that would fit comfortably as a hood and turned it inside out so the picture on it wouldn't show and put it over his head, making sure the sleeves were tucked in. The tag is printed on that onesie, so it does show, but didn't bother me...I later realized that if I had put the tag under his chin, it probably wouldn't have shown at all. I also originally had planned to sew (or pin) on some fuzzy ears, but that didn't happen either. After all, he is 2 months old...he was clean, dry, warm enough, not too warm, and completely adorable...what more can you ask...?


Check out my Link Parties page for a list of all the parties I link to each week.